It’s mid-March and the days are growing noticeably longer, temperatures are trending upwards, the snow is almost gone and the birds are starting to sing. This is my favourite time of year. As a gardener, I’ve been dreaming up plans and projects all through the winter and it’s hard for me not to jump right into planting as soon as things warms up. But I have to resist the temptation, as hard frosts can persist right through May even in our comparatively mild part of Ontario.
There is nothing worse than putting in a lot of hard work to get your garden off to a promising start, only to see a late spring frost undo all your efforts and kill your crops. Fortunately, there is a fun way to scratch your gardener’s itch in March (or even earlier), and in the process, get a head start on spring.
So how do you scratch your gardener’s itch? Simple: start your garden indoors! All you need are some pots, soil, seeds, and a south-facing window with plenty of light (or artificial light, if natural light isn’t an option.) Starting garden vegetables indoors is a trend that has really taken off since the pandemic. It can be a bit tricky though, as not all seeds or plants are alike, and some need specific conditions to germinate and grow. I’m hoping I can de-mystify the world of seed starting for those of you that want to give it a try.
The first step is one of the most important: figuring out when the last spring frost is likely to be. All plants need to have a certain amount of growth before they can be replanted outdoors. For most veggies and flowers, you’ll want to start them 4-6 weeks before your last frost date. Last frost dates vary depending on where you live, but you can consult the trusty Old Farmer’s Almanac (updated annually) for predictions in your area. The Almanac is predicting that for my area in North Pelham, the last spring frost should be around April 27 this year, which seems a little early, but if your seedlings end up staying indoors for another week or so, it won’t hurt them.
The next step is figuring out what you want to grow. While all seeds can be started indoors, not all seeds benefit from an early start. Root vegetables such as carrots, radishes, turnips, beets (to name a few), are generally not the best choices for indoor starts. These vegetables are best when they are directly sown in the garden. This is because the part that you eat arises from the root of the plant, and if you transplant a root crooked in the ground, you may end up with short, crooked carrots!
Some examples of easy plants to start from seed include tomatoes, peppers, eggplants, zinnias, marigolds and cosmos. These plants don’t have fussy growing requirements, making them the ideal starter plants for indoor gardeners.
Also worth avoiding if you’re new to indoor gardening are any type of melon or gourd, such as pumpkins, watermelons, squashes, et al. If you disturb the roots at all when transplanting them into your garden, they will either halt all production for a number of weeks or never recover. These plants are usually very quick to sprout outdoors anyways, so you’re better off directly sowing them and enjoying a harvest late in the season, rather than no harvest at all. I also love to grow basil, bok choy, spinach and dill, but these are examples of cold hardy plants, which can be directly sown outdoors before the last frost date, and actually produce the best before the weather gets hot. Once the temperature rises in June, these plants tend to “bolt” and use their energy to produce flowers and seeds rather than edible leaves. Ornamental sweet peas, one of my favourite cut flowers, are also cold hardy and can handle a light frost easily, so you can sow them as early as April.
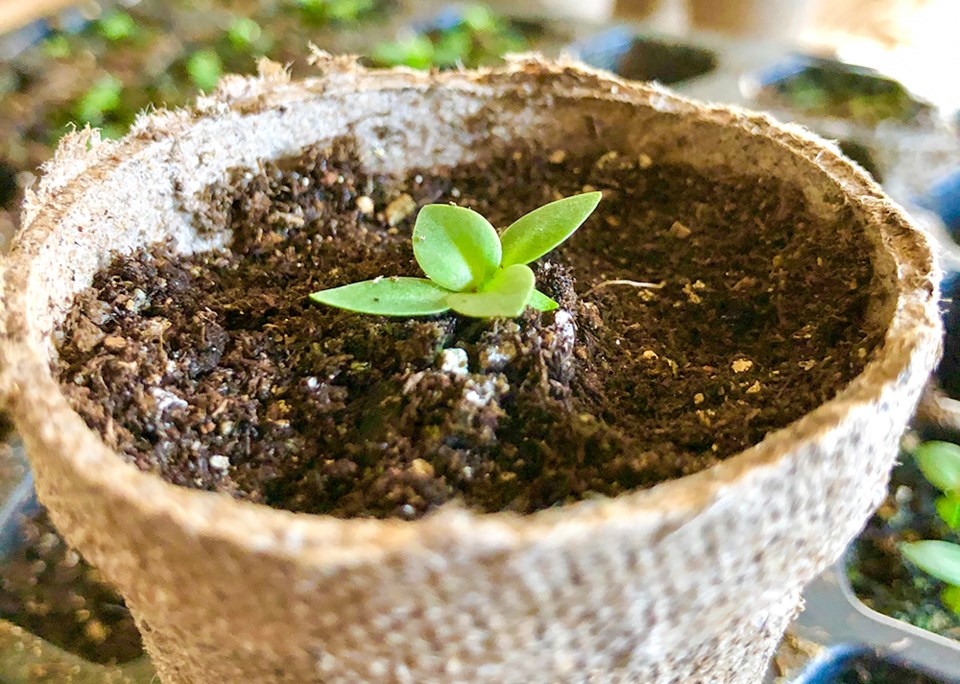
The next thing to keep in mind is “with what” and “where” are you going to grow these things? The good news is that you don’t need much to get started. When I first started sowing seeds I purchased some Jiffy trays with the peat pellets, added the water as per directions, sowed my seeds and put the tray in a warm, well-lit area close to a window and THAT’S IT. My seeds germinated, and I had a nice little collection of plants for the spring. While those Jiffy kits work great, you can also save a few dollars and just repurpose things you already have around the house like egg cartons, halves of egg shell, toilet paper rolls, newspaper, yoghurt cups or old plastic plant pots for your seeds. Just make sure that whatever you use there is a drainage hole for the water to escape.
Tender new roots from a seed have an easier time growing and getting a foothold in a lighter, airer potting mix than regular potting soil. Look for soil bags that specifically say “seed starting mix,” or if you have potting soil at home already, you can pick up a bag of perlite to mix in, which will make it airier. Once you have your seeds sown and pots arranged, keep them moist but not wet, and make sure they get plenty of light. If you’re working with a windowsill instead of a grow light, turn your trays or pots every few days so that all sides of your plants receive even light. This will prevent them from bending towards the window. If your trays are close to an air vent, keep in mind that this will dry out the soil faster, so keep an eye on your moisture levels and water as needed. Watering your seedlings from the bottom encourages deeper, stronger roots (because they have to reach for the water) and also discourages algae growth at the soil surface.
The last step that ensures your little seedlings will grow and thrive once transplanted into their permanent homes is called “hardening off.” Basically, you need to toughen up your seedlings so they can survive outside. You can achieve this by gradually exposing your seedlings to the outdoors, allowing them to slowly get stronger before completely transplanting them. I do this over a period of 1-2 weeks. I start by putting all my seedlings outdoors in a bright but protected area (no direct sun or harsh breeze), such as just outside my patio door for a couple hours before bringing them back inside. Each day, I expose them to the outdoors for a little longer, and after a few days they get a little more light, and a breezier location. About 2-3 days before I anticipate planting them in the ground, I leave them outside all day and overnight. If the forecast is suddenly calling for an unexpected frost and you already have your seedlings planted, you can make an improvised tent for them using sticks to prop up an old towel or some frost cloth if you have that handy.
So there you have it, an easy way to scratch that planting itch and get a head start on your summer garden. ◆
Aleksia Shoalts is a director for the Pelham Garden Club and also writes a blog about gardening and DIY projects. Have gardening questions you want answered? Contact her at [email protected]


